
Day one of my Dingo build ended… differently than I planned.
Dingo is one of those vehicles I’ve loved since I was a kid. Back then, it was the Matchbox 1/76 Monty’s Office kit — which I still own, by the way. I tried building it, but the chunky details and lack of definition put me off. It ended up abandoned, just like Monty’s forward HQ.
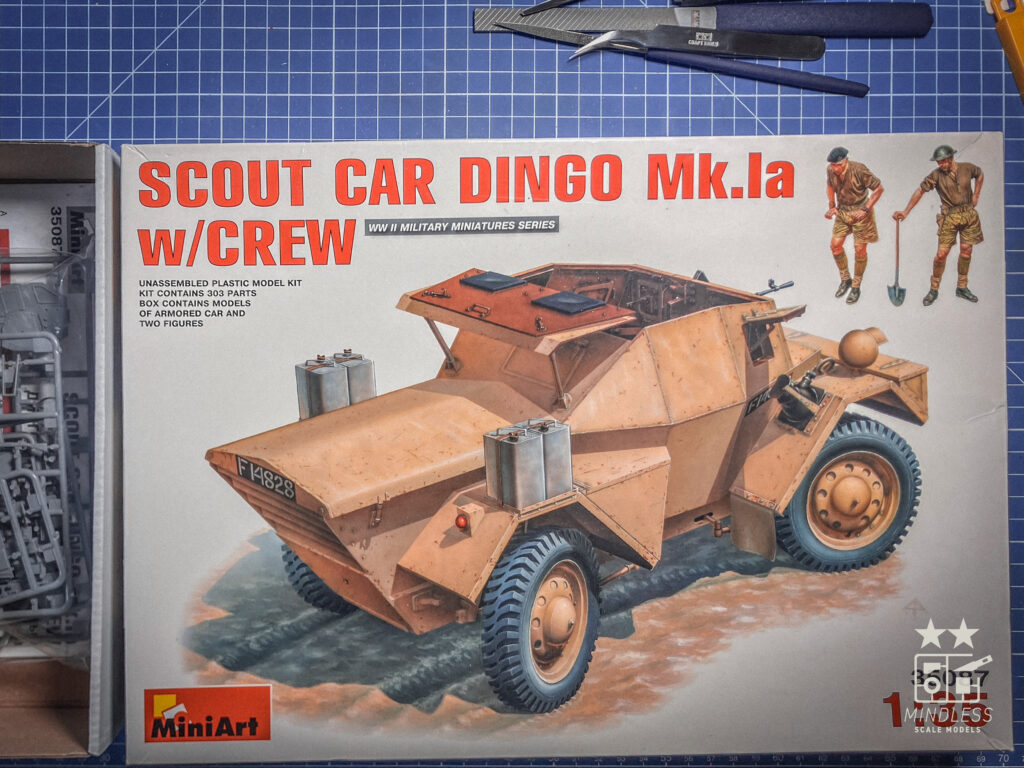
This time I wanted to do it right. A full-blown Dingo, loaded with detail. MiniArt’s 1/35 Daimler Dingo Mk.Ia seemed like the perfect base. The kit looked busy enough straight from the box, and I thought: let’s not waste time digging through reference photos or going PE crazy. Just build it. Enjoy the process. No distractions.
That was the plan.
It failed around step 2 of the instructions.
MiniArt tells you to remove small molded patches on the upper hull. Turns out — this is where antenna mounts should be. But what kind of Dingo doesn’t have a radio? Not to mention, the areas are bordered by weld seams, making clean removal a pain.
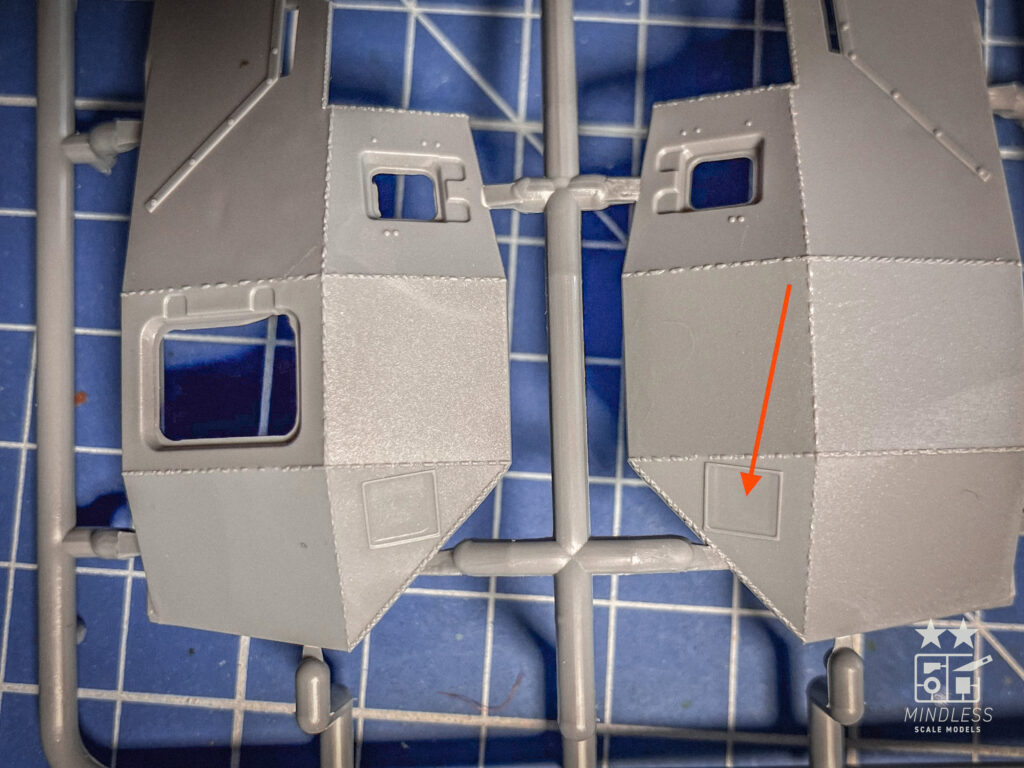
So I started digging. A quick dive into reference hell — talking to ChatGPT, crawling photos, wartime docs — and yeah, every Dingo I found had radio equipment and antennas. Even worse, the thing MiniArt wants me to build as a “radio” looks nothing like any wireless set or even electronic device. The shape is vaguely similar, but the details? Off. Totally off.
At that point I gave in. So much for building it straight out of the box.
Instead of scratchbuilding a fully accurate radio, I’ll go with a field solution: cover it up. Literally. I’ll replicate one of those canvas radio covers often seen in restored vehicles. Maybe using tin foil, maybe epoxy putty — I’ll figure it out as I go. The seat in front blocks most of it anyway, so there’s no point sweating invisible details.
I’ll also fabricate new antenna mounts — nothing fancy, just clean and accurate. The molded-in outlines will serve as placeholders for now, both for position and scale and probably stay covered by new weld seams. From what I found, there are at least two types of upper mounts. The lower metal bracket stays the same. I’ll probably go with the simpler early-war version.
Small discovery while digging…
Photos of the early Dingo Mk.I are really rare. Almost everything out there shows later versions, easily identifiable by changes to the rear panel and radiator cover. Still investigating exact differences — if you know more, drop a comment.
Anyway — time for the fun part.
I started clipping and cleaning the main body parts to check fit and quality. Using ultra-sharp nippers, most sprue connections came off clean, with barely any stress on the plastic. Just be careful — some gate attachments are super thick. Better to clip them deep first, then work your way in, to avoid chipping the part.
Only downside: the plastic is a bit “hairy.” After filing or sanding, a lot of tiny fuzz stays on the edges. You’ll need to scrape it off gently with a knife, fingernail, or even a toothpick.
Some sprue gates sneak onto the edge bevels or internal lips — and that’s where my new file came to the rescue. Honestly, I hesitated before dropping cash on a single file, but man… what a game changer. It’s not just comfortable — it lets you sand cleanly inside tight 90° corners where typical hobby files just can’t reach. Worth every penny. I’ll post a proper review in the Workbench section soon.
Fit-wise, the big parts like the floor and side walls come together beautifully. Pegs and slots are precise. No wiggling, no drama — just push them flush and glue. That’s what I thought…
Until I tackled the fuel tank.
The tank consists of three parts: two sides and a cap. Sounds simple, right? But the ends didn’t line up perfectly, and the cap forced the sidewalls to bulge outward slightly. The result: a visible gap at the rear.
To fix it, I ditched the Tamiya Extra Thin and went with the classic Cement bottle — the gooey kind. The idea was to let excess glue fill the gap and fuse the plastic, leaving a surface I could sand smooth. I aligned the halves using Tamiya masking tape first, then brushed glue into the joint.
Now it’s curing. Tomorrow, my new file will get another workout.
Looking ahead, it’s clear what people mean when they say this isn’t a beginner-friendly kit. Every part is small. Every mistake shows. Even something as simple as the fuel tank requires finesse and planning — which makes you rethink your next steps. Especially when it comes to painting.
I still haven’t figured out how to divide the interior for painting. Once it’s glued, access to corners and narrow spots is nearly impossible — even with a 10/0 brush or angled airbrush. Maybe I’ll tack parts together in invisible areas and disassemble after priming? Maybe not. Gluing painted parts is always a risky move. We’ll see.
Looks like tomorrow is another day on the front lines of the MiniArt Modellers’ Infantry.
⸻
Got questions, suggestions, or juicy Dingo facts? Hit me up in the comments.
Let’s build.
Leave a Reply