
Session two. Another 90 minutes at the bench.
How many parts did I glue?
“4″
That brings the grand total to seven parts glued over two full sessions, which means I’m currently averaging something like 1.4 parts per hour.
Not exactly what you’d call “rapid progress.”
But strangely enough? I’m not mad.
Micro progress is still progress
Today’s session was slow. Not because of distraction, not because I messed up, not because the plastic fought back (well, not more than usual) — but because that’s just how this kit goes.
MiniArt’s Dingo is not a “snap-fit Sunday chill build.” It’s a surgical slow-cooker, where every part:
• has flash or mold lines in the worst spots,
• connects via thin, fragile pegs,
• and often refuses to align unless you coax it into place like a nervous cat.
That said — when a piece does go in properly? It’s deeply satisfying. You earn every millimeter of alignment.

Time doesn’t matter here
I used to think in terms of “how much did I finish today?”
Now I’m thinking:
“Did I enjoy the process? Did I get one step closer to a clean, tight result?”
Yes and yes.
Even if it took 20 minutes just to prep, dry-fit, scrape and glue one single side panel, that time felt… earned.
This isn’t Tetris. There’s no speed bonus. Just plastic, patience, and the occasional out-loud “fuck off” when something snaps back out of place.
⸻
The illusion of speed
Let’s be real — we all have that itch to “see results.” To slap a hull together, drop some wheels on it, and feel like something’s getting built.
But with Dingo, that illusion doesn’t last. The kit won’t let you rush. You either slow down or you suffer.
So I’m learning to lean into it.
This is not a project to be finished.
It’s a project to be worked on. To live with for a while.
Maybe even to talk back to.
⸻
The manual is not the law
By the way — I’ve already ditched the manual.
Not fully, but enough to say: I trust my brain more than their diagrams.
The instructions are… a suggestion at best. And sometimes they don’t even do that right.
Case in point: I spent 30 minutes trying to figure out why the front plate wouldn’t fit. Turns out, the tiny pegs on the back have to face a very specific way — which is not shown in the manual. At all.
No angle indication, no warning, no nothing. Just “put it here” and suffer.
So now I’m switching to my own sequence. I dry-fit everything, test where I need access for painting later, check if I can glue flat instead of vertically, and then proceed.
I’ll use the instructions as a vague compass.
Not a map. Definitely not GPS.
⸻
Patafix is life
Quick shoutout to Patafix — the unsung hero of this build.
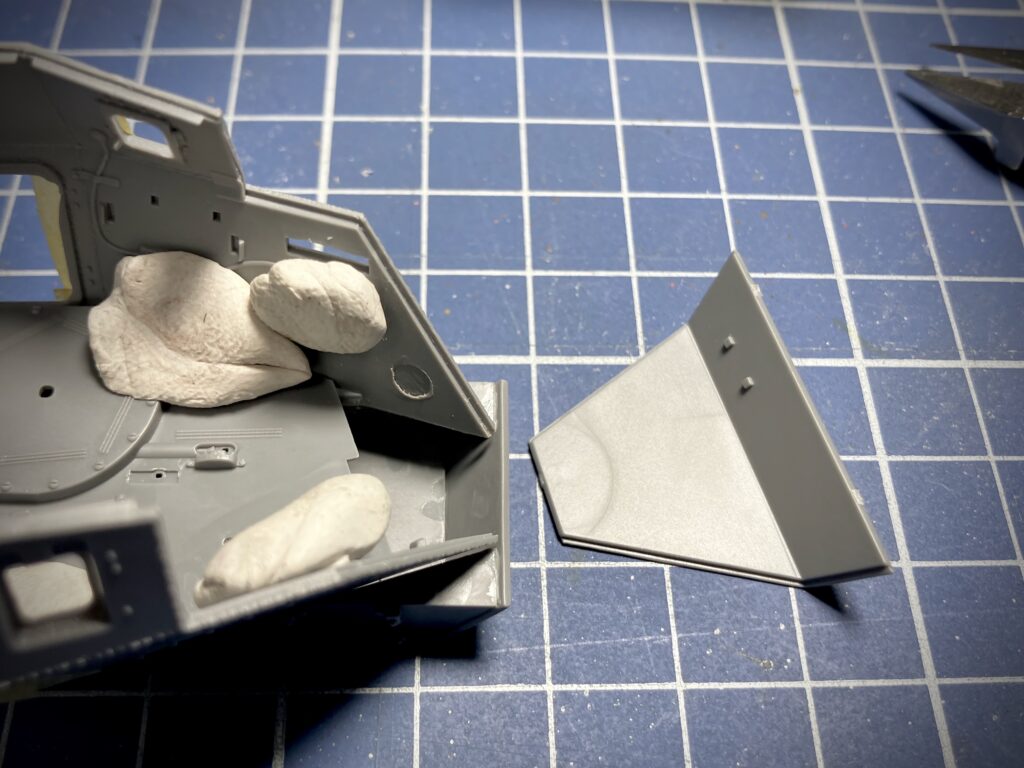
Some of these assemblies require holding four parts at once, all at weird angles, with no positive locking and two hands that were not designed for LEGO-style yoga.
Patafix fixes that.
Literally.
• Holds parts in place while you apply glue
• Stabilizes joints while things cure
• Doubles as a mounting system for airbrushing (stick it to a toothpick, clamp, table, whatever)
• Replaces rage with peace
Also: Tamiya masking tape — not just for paint anymore. Helps hold parts mid-glue when Patafix alone isn’t enough.
Not glamorous. But effective.
⸻
Bonus note from the bench: tank drama continues
So technically, today’s session ran closer to 2 hours total — sat down again after writing this and managed to finish the damn fuel tank.
After smoothing everything out, I spotted a small gap on top and added a bit of Tamiya Cement. It wicked in perfectly — sealed the join, quick file pass, and done.
But then I noticed a more subtle issue:
The pressed detail line — the shallow groove running around the tank — didn’t line up across both halves.
Even though I glued everything flat, taped it up, and applied good pressure, there’s a noticeable offset in that groove. On the hidden side it’s minor. On the visible side? It looked wrong.
So I had to rebuild the pressed line from scratch.
Enter my Plastic Scriber — one of those tools I bought on a whim and now can’t live without. I redrew the groove to match the reference, then deepened it carefully with a fine razor saw, following the new guide. Finished with Extra Thin to melt away the fuzz.
It’s not perfect, but the groove flows now.
And more importantly — it doesn’t scream “factory fuck-up” anymore.
Current stats
• Sessions: 2
• Time invested: ~5.5 hours
• Parts glued: 7
• Frustration level: stable, mild simmer
• Satisfaction level: surprisingly high
Next time? Maybe I glue part #8.
Maybe I just stare at the sprues for half an hour and sand the same panel three times.
Either way, it counts.
⸻
Let’s build.
Leave a Reply